
In my introduction to hardware hacking, I mention that radio systems may be part of the attack surface for a hardware device penetration test. So I thought I’d give a gentle introduction to hacking with an SDR here!
Firstly, what’s an SDR? It stands for software-defined radio, and refers to a category of devices which allow you to interface with radio. There are a lot of SDR devices on the market to choose from when you first get started – a RTL-SDR can be picked up for £15 and devices from Ettus Research go well into the thousands of pounds.
I’ll be using an Ettus Research b200mini-i USRP during these examples, but if your SDR can receive and transmit on 433MHz then you can follow these steps directly – if not I’ll just use this as an example to talk about some of the tools and techniques.
In this example we’ll be targeting a simple home alarm, which works by placing sensors on doors/windows and engages and disengages with a keyfob. The fob itself looks like this:
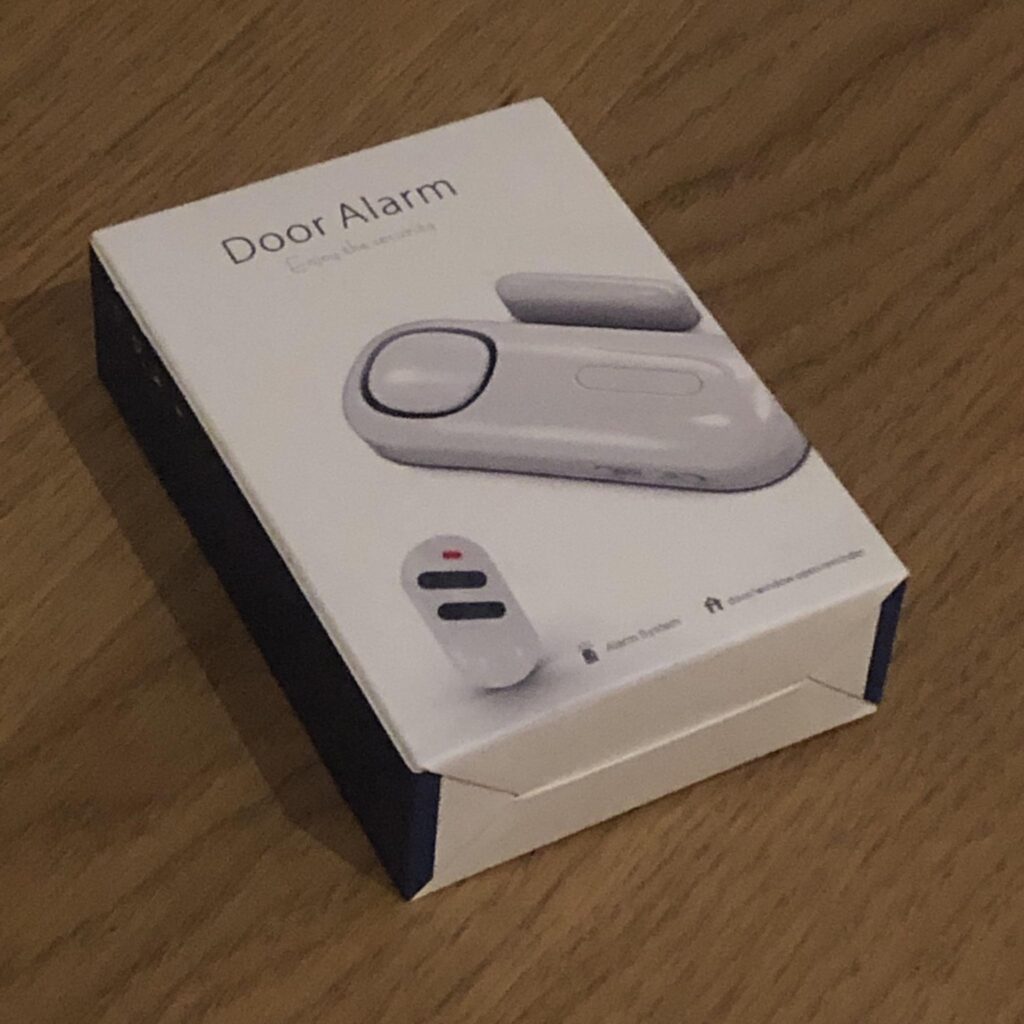
There are many similar devices available on sites like Amazon, if you’d like to play along at home.
Cloning a Keyfob
Many of these devices utilise a simple fixed “password” for engaging the alarm, which can be captured using an SDR and then replayed at will. The overall attack simplicity often surprises people who haven’t seen this kind of thing before – and it’s a good simple introduction to trying out the tools.
The first thing we need to do is determine what frequency the fob is operating on. A very common frequency for these kinds of devices is 433MHz, so I started there and got lucky on my first attempt.
How did I confirm it was 433MHz? By using GNURadio to listen to that frequency and look for data transmissions. This is easily seen with an SDR listening on that frequency in GNURadio. With a UHD this is as simple as running a command like:
uhd_fft -f 433M -s 4M Note if you’re running GNURadio in a Virtual Machine, and are having difficulty connecting to the UHD – this may be because after uploading the firmware to the device it reboots and VMware loses the connection. I found it much easier to do this on a bare-metal Linux installation to avoid this quirk.
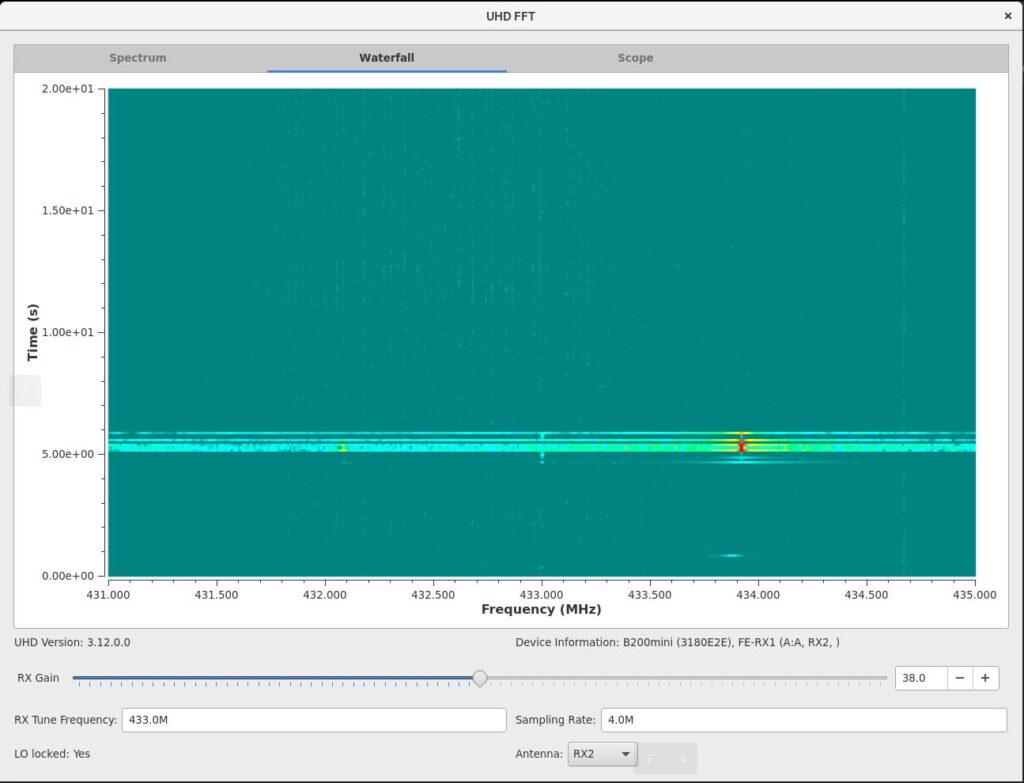
The above screenshot shows the SDR listening on frequencies around 433MHz, the view runs bottom to top slowly; you can see the point in which I pressed the key fob button here showing in red on the waterfall. Giving a frequency of about 433.912MHz. So now we know where to monitor!
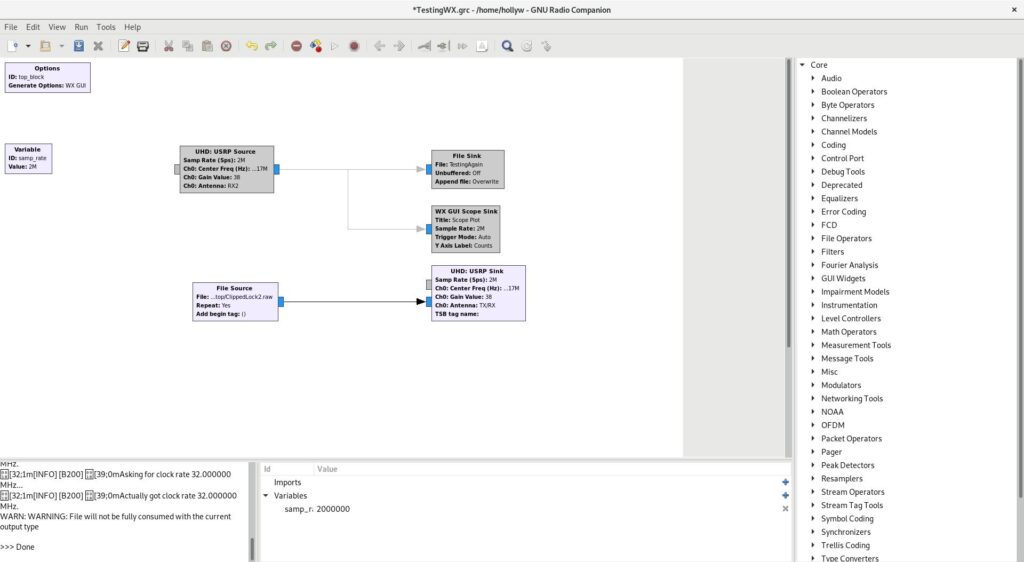
Now we know where to monitor we can take a look at GNURadio companion, and set up a project to first record, and then replay on demand, the “password”.
You can start the tool with:
gnuradio-companionThe menu will look something like this:

In the project space, you’ll want to double click the “variable” box and set the sample_rate to 2000000 (2M). I’ve done that already, so you can see it showing as 2M in the screenshot above. Now you can select some widgets from the menu on the right. Left click any of the options once and hit CTRL+F and you’ll be able to search for what you need.
As I’m using an Ettus I’ll use a “UHD: USRP Source”, but you’ll want an appropriate source for your radio device. I’m also going to select a “File Sink” and a “WX GUI Scope Sink”. None, if you’re using Fedora, you’ll have a bad time with WX GUI components as it uses Wayland, instead of X, by default. You can quickly change this however by logging out and hitting the cog on the login screen and selecting “Gnome over X”. or a similar suitable “over X” option!
Once you’d selected those widgets you can connect them by clicking the small “tab” on the edge of the boxes and clicking where you would like to connect it. I’ve connected my source to both the file and GUI output. Like this
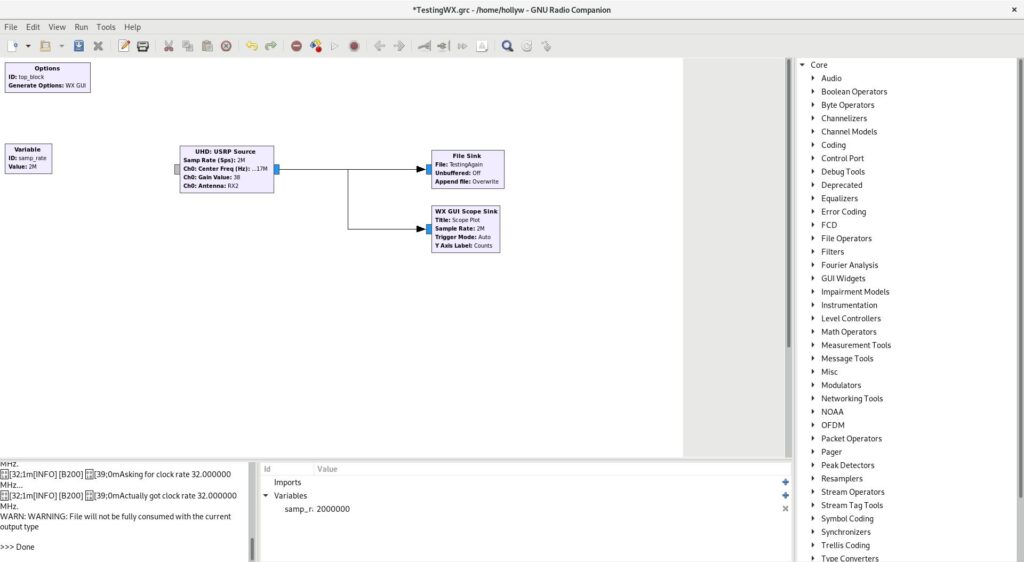
You might also notice from the above, that I’ve set some of the widget variables. For USRP Source Gain, I’ve selected 38. Which was actually the default selected by uhd_fft earlier and works reliably with this device. I’ve selected antenna 2, RX2, you may only have a single option on your device. I’ve given the file sink a filename to save to, I’ve used “TestingAgain” for mine as I lack creativity. For frequency it wants it in Hz so 433.912MHz becomes 43391200.
Now I can run the project to allow me to capture a keyfob command!
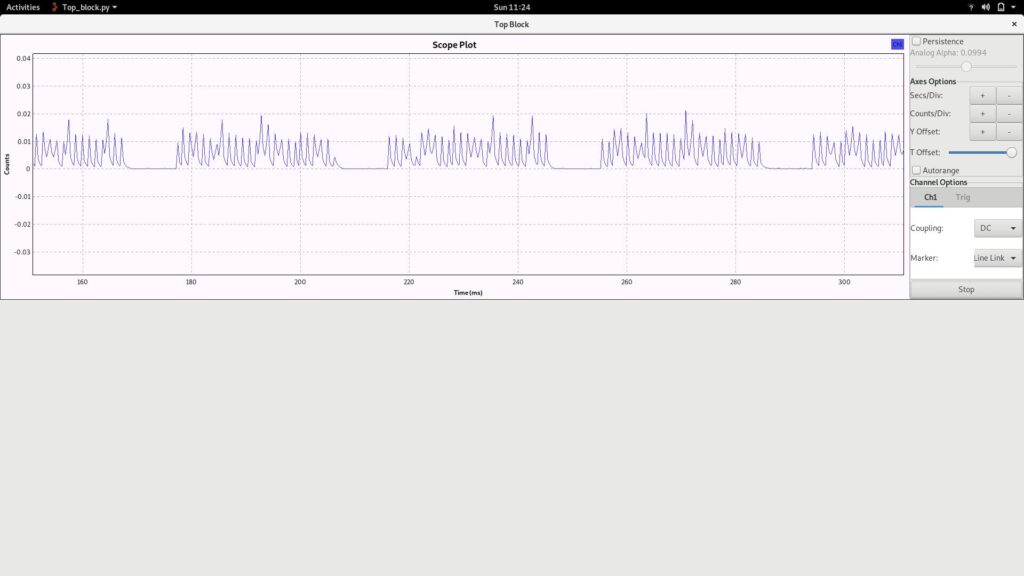
In the above screenshot you’ll see that I’ve run the project and taken the screenshot whilst pressing the keyfob button – and that the keyfob signal is shown neatly in my GUI block.
It’s unlikely that yours will be neat like this by default, if you adjust how it’s displayed with the buttons on the right: secs/div, counts/div, Y offset. You’ll need to disable Auto-arrange for all of these buttons to become active. How you want to set it will depend largely on your screen size and PC power. You can see what I’ve got mine set to on the axis of the above screenshot – I find this works well on my small screen.
Once you’ve captured a keyfob press, you can simply close the “top block” GUI window shown above, and the data will have written to the file you specified in your file sink! For me it was about 70MB of data, but you’ll see shortly that of course there’s a blank capture at the start and end of the file which we can optionally remove.
Replaying a Payload
Now that we’ve got a file “TestingAgain” containing a valid keyfob press; we can set up GNURadio to transmit the “password” to the alarm system!
To do that, you’ll first want to disable your existing widgets (you can delete them of course, but I prefer to disable them so I can capture and replay several button presses, e.g. lock/unlock, in a row). You can do that by right clicking them and selecting disable.
Add a “file source” and a device sink. I’m using “UHD: USRP Sink” of course as I’m using the Ettus, but if you’re using a different SDR device you may have a different sink widget. In the file source widget, select the file you saved earlier and don’t forget to connect it to your sink!
For the sink, I’ve set the gain to 38 as before. I’ve also set the Centre Frequency to 43381200 again (as with the source earlier). That will leave you something like this:
Now hit play on the top bar and you should hear your alarm lock/unlock! It should look something like this:
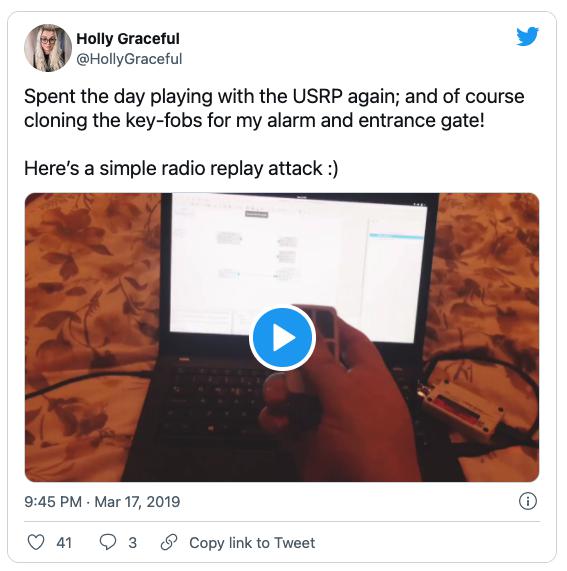
If you put the audio on you’ll hear the keyfob engage the lock – and then I replay the payload with GNURadio!
Editing Captured Data
Another thing you can do, is edit the captured data in Audacity – I won’t go into details here as I’ll save that for part two – but just in case you want to start playing around with it: here’s how to import and export the waveform.
Firstly you can import the data into Audacity using:
File > Import > Raw DataYou should get something like this:
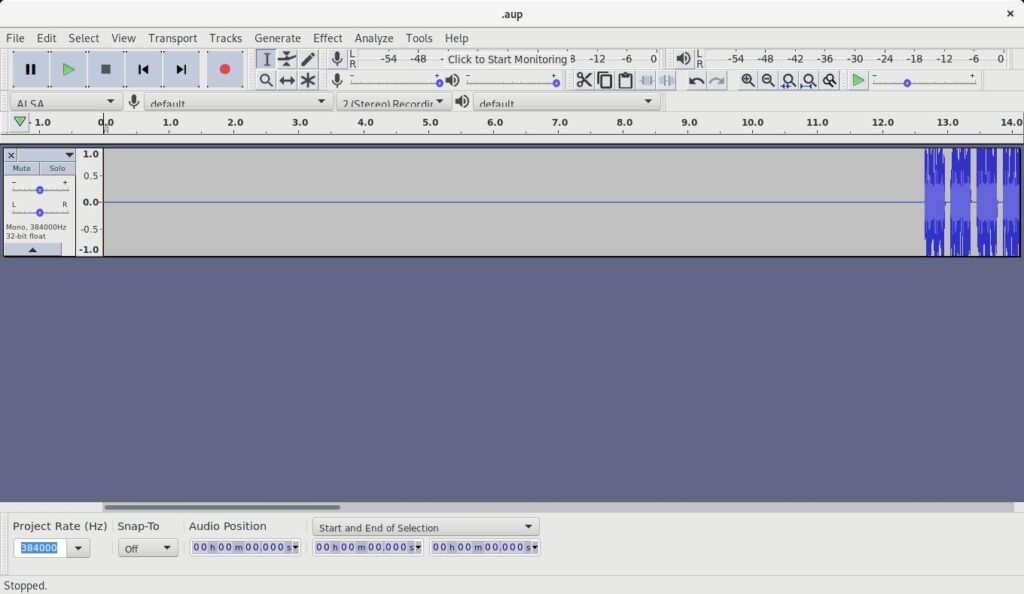
You can get rid of any wasted space at the beginning by highlighting it with the mouse and hitting the backspace key. I do this to cut the file down to the minimum needed and to remove any delay at the start of a replay attack.
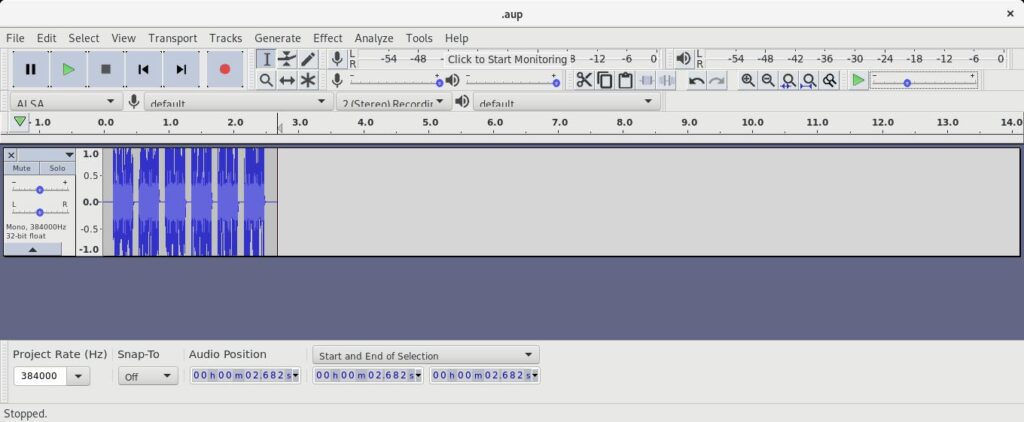
Interestingly though, if your keyfob is similar to mine, you’ll end up with something like this:
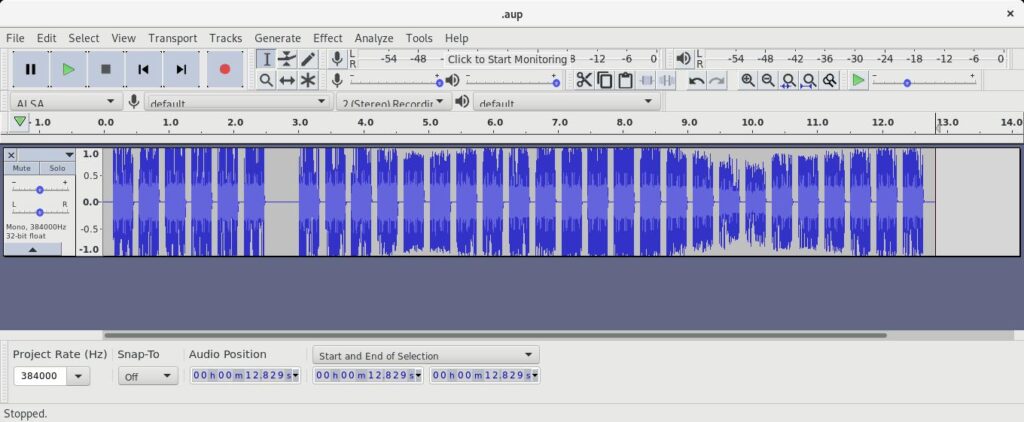
Now this might not seem like anything special; and we haven’t yet looked into what this data actually contains – we’ll save that for a future post! However if curiousity takes you, or I guess if your mouse hand slips when you’re deleting data. You might realise that this whole waveform isn’t actually necassary – if you were for example to cut it right down to the first six pieces, you’d end up with this:
We’ll look at bruteforcing the keys for fobs like this one in another part – but here we’ve got a short waveform which we can supply to an SDR through GNURadio whenever we like, to replay the lock/unlock code. A surprisingly simple attack!
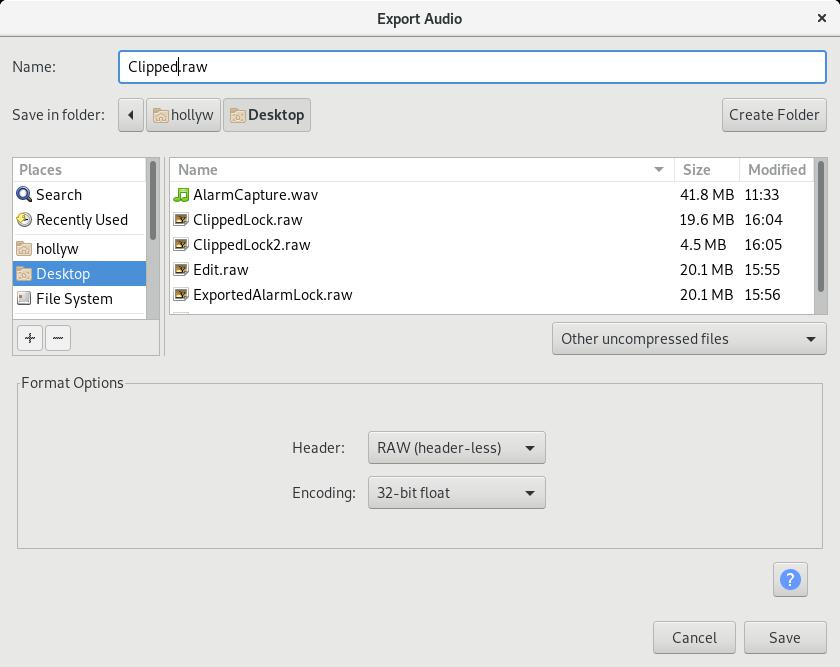
Last thing though, we need to save the file. Just hit:
File > Export > Export AudioThen save it as “Other uncompressed”, “Header: Raw (header-less)” and “Encoding: 32-bit float” and you can use that smaller file with GNURadio whenever you like 🙂
That’s it!
Calculating Subnets and CIDR Quickly
A friend of mine mentioned recently that he has to work out subnet masks in his head for an exam and commented in reality he’d just use a subnet calculator. Whilst this is probably true, there’s a quick trick that might help if you’re calculating subnets under duress. This isn’t [...]| Play | Cover | Release Label |
Track Title Track Authors |
|---|